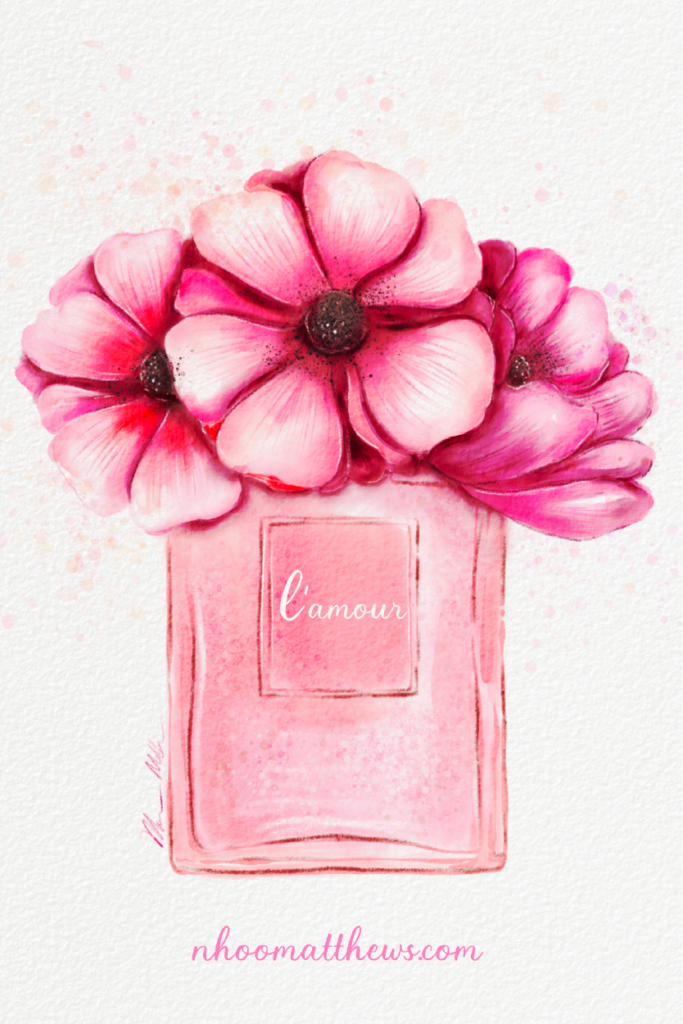
It’s Spring time! Here is a blog post of my Procreate watercolor drawing “Perfume Blooms” which I shared a reel on my Instagram around Valentine Day’s. I have seen a trend of cheerful watercolor drawing appeared on social media lately. It’s great that people are finding joy in digital art through watercolor again!
This drawing of mine was inspired by one of a classic fashion wall art style, perfume bottle art. This feminine art subject is very refreshing and I think will be fun for you to try to do it in your own version.

Let’s jump into my drawing process!
In Procreate, the crucial part that will make your artwork look very realistic is to use watercolor brushes with a digital watercolor paper. In this artwork, I used my Bristol -Old Mill Watercolor Paper from Procreate Deluxe Box Day Dream Watercolor (114 brushes + 3 digital watercolor paper).
1.Create flower sketches. I made 2 sketches, full flower and half flower. Then, I duplicated one more of the full flower and arranged them as you see. Drafting flowers is quite simple through basic shapes of full circle and half circle (cup shape). For petals, you can create any shapes you like. Find a reference photo and try to draw just that. See the drawing process in the time-lapse video below.
2. Next, I use a perfume bottle stamp from my Beauty Items Procreate Brushes, which has already been created in watercolor style, to be the part of the artwork. You can draw your own favorite perfume bottle, of course! Arrange the flower sketches. Erase any overlapping sketch lines and the top part of the perfume bottle.
3. For color scheme, I usually plan out my color palette before I start my coloring work. Normally, watercolor brushes that are used on any digital watercolor paper will be quite saturated. I recommend that you do some color test before beginning your work. Start coloring on layers below “paper textures” which were formulated for the realistic watercolor effect. This is super important.
4. The main brush that I used for this artwork is “Rustic Edge 2”. This brush effect is real joy to use. It acts like a water tank brush that is when you press hard it releases more water into the area of coloring. On each petal, I started by lightly coloring around the edge to create border and then pressed hard to release water. This needed to be done in one stroke. Another character of the Rustic Edge 2 is that it creates saturated or darken color when the strokes are layered.
5. Once the first color part was done, I used “Watercolor Blender 4” for blending. The key of blending is to drag the brush from one side to another (not back and forth). Gently blend the colors without too much blending. I left some hard watercolor stains or lines behind to achieve a realistic watercolor look.
6. The second coloring part is adding definition or shadow to the flowers. Use the same brushes for coloring and blending.
7. Use “NM Sketch Pencil” brush to add details on petals. And use this brush with white color to add high light detail as well.
8. Adding watercolor flicker effect using “Mist” brush or similar ones from the brush pack. This, of course, up to you where you want to use this brush effect. I used it at the pollen parts and throughout the artwork.
Drawing Time-Lapse
See the watercolor brushes in action!
I hope you enjoy creating something fun from this blog post idea! Let me know what you think or share your work with me on Instagram by tagging @fashionworkshop.bkk anytime!